Help Centre
How can we help?
Guides and FAQs covering every feature — from CRM setup to settlement tracking.
Marketing Team & Media Agency Integration
The complete technical guide to clean campaign attribution, UTM conventions, and lead capture for web developers and agencies.
Getting Started
realestate viewers is a buyer journey pipeline tool built for Australian real estate sales agents — covering both off-the-plan (new development) and established residential property. It gives you a single view of every buyer: where they are in their journey, their readiness score, and exactly what to do next to keep the deal moving.
Think of it as a CRM purpose-built for property sales: pipeline kanban, settlement tracking, stage-matched nurture via Email, SMS & WhatsApp, stock availability, and suburb research — all in one place.
The Trial (free) plan gives you a 1-month free trial on the Starter plan — full access to the pipeline, stock view, settlement tracker, messages, and suburb research with up to 50 buyers. No login required — your role is stored locally.
Paid plans: Starter (A$150/month, up to 50 buyers), Pro (A$300/month, up to 250 buyers, CRM integrations, WhatsApp, custom branding, team management), and Agency (A$1,000/month, unlimited). Upgrade from Settings → Branding.
Projects represent your developments — for example "Harbour Rise" in Pyrmont. Go to the Projects page in the sidebar to create one.
For each project you can set the development name, suburb, total unit count, expected completion date, and commission rate. Once created, you can:
- •Add stock units floor by floor in the Availability view
- •Filter the pipeline by project using the project switcher at the top
- •Assign buyers to a project from their profile
- •Sync buyers from a connected CRM directly into the project
Once you have at least one project, a row of project filter pills appears at the top of the Pipeline page. Click a project pill to filter the kanban to only show buyers in that project.
The active project is remembered as you navigate between pages — switching to Messages or Stock will pre-select the same project. Click "All Projects" to clear the filter and see everyone.
If no projects exist yet, a banner at the top of the pipeline will prompt you to add one.
There are two ways to bulk-import buyers into a project:
- •CSV Import — go to the Projects page and click "CSV Import". Upload a CSV with columns: name, email, phone, stage. Optional columns: budget, notes, projectId. Existing buyers with a matching email are updated, not duplicated.
- •CRM Import — click "CRM Import" on the Projects page to sync leads from a connected CRM. You'll need your CRM credentials saved in Settings → CRM Connections first. Choose which CRM to sync from, then click Connect & sync.
On the Pro plan, go to Settings → Team to invite colleagues. Each user gets a role: Admin (full access), Sales (pipeline and buyers), or Marketing (read-only pipeline and suburb research).
The first account becomes the Admin. New users receive a login link via email and sign in at your agency's login page.
Pipeline & Buyers
When you first connect a CRM or import a CSV, it's common to end up with 40–80 buyer records and no clear sense of where to start. Here's the four-step workflow.
**Step 1 — Set the right stage for each buyer.** Don't leave everyone in Browsing. Spend 60 seconds per record: if they've had finance conversations, move them to Finance. If they've compared multiple properties, move them to Comparing. The stage tells the pipeline what the next action should be — so an accurate stage is the foundation of everything else.
**Step 2 — Fill in their readiness signals.** Open each buyer's profile and tick the signals you already know: Do they have finance? How many inspections have they attended? Have they responded to your last message? These signals feed the readiness score (0–100), which tells you who's worth calling today versus who needs a longer nurture.
**Step 3 — Work the follow-up queue, not the full list.** Go to the Dashboard. The "Agent Follow-up Queue" shows only the buyers flagged as high priority — readiness score above 75, or recently active. Start there. You don't need to call every buyer every day; you need to call the right ones.
**Step 4 — Send stage-matched messages to everyone else.** For buyers who aren't in the priority queue, use the Messages page. Select their stage and channel (Email, SMS, or WhatsApp), personalise the pre-written template, and send. This keeps every buyer warm without requiring a phone call.
Repeat steps 3 and 4 each morning. As buyers respond or move stages, their readiness score updates and they'll surface in the queue when it's time to act.
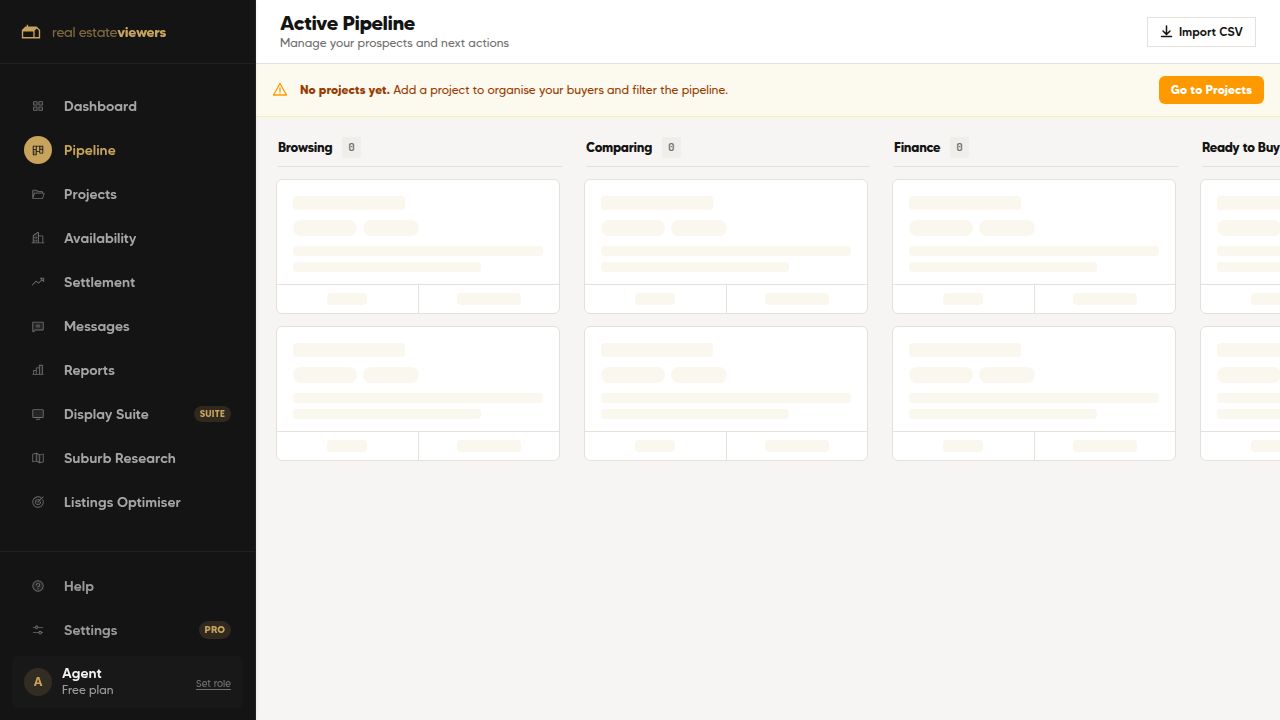
The pipeline has five active stages:
- •Browsing — early awareness, attending open homes or display suite
- •Comparing — evaluating your project against alternatives
- •Finance — actively working on pre-approval or loan application
- •Ready — finance approved, ready to sign; high conversion probability
- •Deposited — contract exchanged, deposit paid
After Deposited, buyers move into the Settlement Tracker: Construction → Pre-Settlement → Settled.
Each buyer has a readiness score from 0–100 estimating how close they are to signing. It's calculated from signals on the buyer record — finance status, number of inspections, response speed, and budget certainty.
A score above 75 is flagged as high priority in the dashboard's follow-up queue. View and update signals from the buyer's profile page.
Click "+ Add buyer" on the Pipeline page and fill in at minimum: name, email, phone, and project interest. You can also set their stage, budget range, and initial notes.
Alternatively, sync contacts in bulk from a connected CRM via Settings → CRM Connections → Sync.
The Display Suite page is designed for tablet use at your display suite. Tap "Record Walk-in" to open a 15-second form — name, phone, project of interest, budget, and notes.
Submissions appear immediately in Today's Walk-ins and create a new buyer record in the pipeline at the Browsing stage.
From a buyer's profile, scroll to the Stock unit section in the sidebar and click "Assign unit". You'll see available units for their project, filterable by floor, beds, and price.
Selecting a unit marks it Reserved in the stock view and links it to the buyer. At Deposited stage it can be marked Sold.
CRM Integrations
realestate viewers supports eight CRM and lead platforms:
- •HubSpot — private app token
- •Salesforce — Connected App (consumer key + secret)
- •Unlatch — API key
- •Domain.com.au — OAuth2 client credentials
- •Rex CRM — Bearer token
- •Agentbox — Bearer token + Agency ID
- •Pipedrive — API token
- •realestate.com.au (REA) — OAuth2 client credentials
Go to Settings → CRM Connections to connect any of these. Only one CRM can be active at a time.
- •Sync contacts — imports leads from your CRM as buyer records
- •Lead source — pulled live from CRM and shown on buyer profiles
Pull (CRM → realestate viewers):
- •Stage changes — moving a buyer between stages automatically updates the CRM
Push (realestate viewers → CRM):
Push is supported for: HubSpot (lifecycle stage), Salesforce (lead status), Rex (contact category), Agentbox (contact status), and Pipedrive (deal note + title). REA is read-only.
Go to Settings → CRM Connections. Find your CRM, enter the required credentials (fields vary by CRM), then click Test to verify the connection is working.
Click Connect to activate it. Once active, the CRM badge turns green and lead source data appears on buyer profiles.
Use Settings → Website Handoff to create a project-specific signing secret and endpoint for a website form. Send name plus an email or phone number, along with source, medium, campaign, content, term, landing page, referrer, and capture time. Your website signs each request server-side with HMAC-SHA512, a current timestamp, and a unique request ID.
The first accepted website attribution stays on the buyer record. CRM and portal imports can still add their native campaign and reference values without erasing that richer first-party context. Read the Media Agency & Marketing Team Integration Guide for the copy-ready request example.
When you open a buyer's profile and a CRM is connected, the app queries your CRM for that buyer's email address and shows their lead source in the sidebar (e.g. "Domain.com.au", "Referral", "Open Home").
This is a live lookup — always reflects the current value in your CRM. If no match is found, the sidebar shows "No lead source found".
In Settings → CRM Connections, expand the connected CRM and click Preview contacts to see the first 50 leads before committing. Click Sync to import up to 200 contacts as buyer records.
Existing buyers with a matching email address are updated, not duplicated. Sync is safe to re-run at any time.
Stock & Availability
The Availability page shows a visual grid of every unit, organised by floor. Cards are colour-coded: green = Available, amber = Reserved, rose = Sold.
Use the project tab at the top to switch between developments. The summary bar shows total available, reserved, and sold counts.
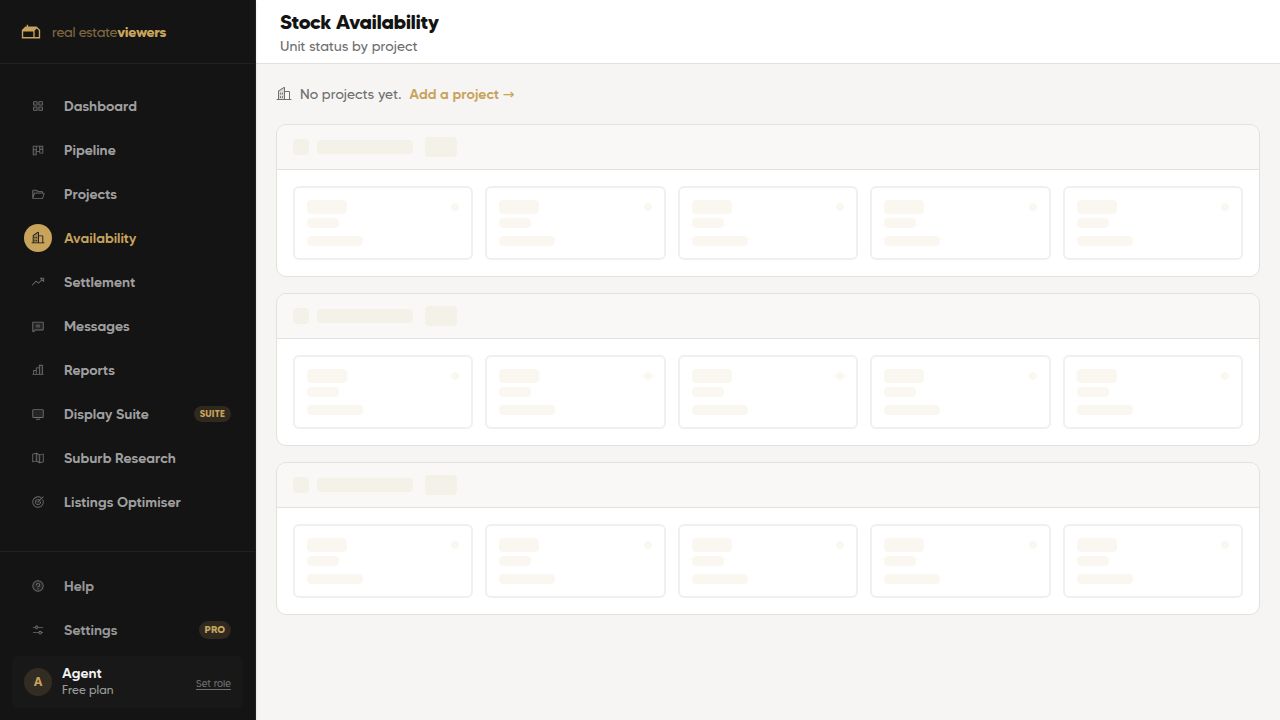
Available units are open for allocation. Reserved units have been assigned to a buyer — their name appears in the unit card tooltip. Sold units have confirmed transactions.
Status changes flow automatically when you assign or unassign units on a buyer profile, or update them directly in the stock view.
Go to Settings → Projects, select a project, and open the Stock Units tab to add units. Each needs a floor number, bed and bathroom count, and asking price.
To edit — change the price, status, or buyer assignment — click the pencil icon on any unit card in the Availability view.
Settlement
Once a buyer reaches Deposited they move into the Settlement Tracker with four stages:
- •Deposited — contract signed, awaiting construction
- •Construction — build in progress
- •Pre-Settlement — approaching handover; time-sensitive
- •Settled — keys handed over, deal complete
Update a buyer's settlement stage from their profile using the journey stepper, or from the Settlement Tracker page directly.
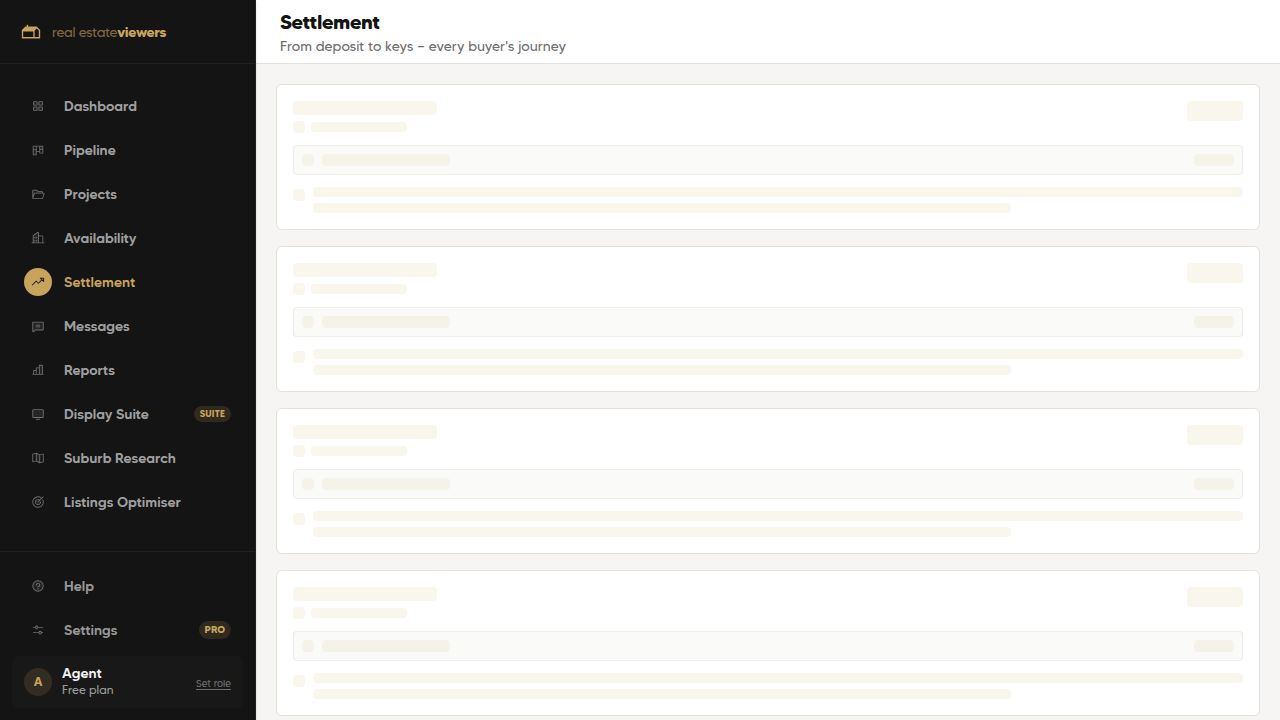
Each buyer in the settlement tracker shows a countdown to their expected settlement date:
- •Urgent (red) — within 14 days
- •Soon (amber) — 15–30 days away
- •Tracking (green) — more than 30 days away
Set the date from the buyer's profile sidebar. The date drives the countdown and the next recommended action.
Open the buyer's profile and scroll to the Settlement section in the sidebar. Click the date field and pick the expected settlement date.
This immediately updates the countdown in the Settlement Tracker and changes the urgency badge. Postponed dates can be updated at any time — countdowns recalculate automatically.
Messages
The Messages page holds 24 pre-built nurture templates — 8 pipeline stages × 3 channels (Email, SMS, WhatsApp). Each is editable to match your agency tone.
When a buyer moves to a new stage, the corresponding template becomes the suggested send from their profile. You can send directly from the buyer profile using the Send Message panel.
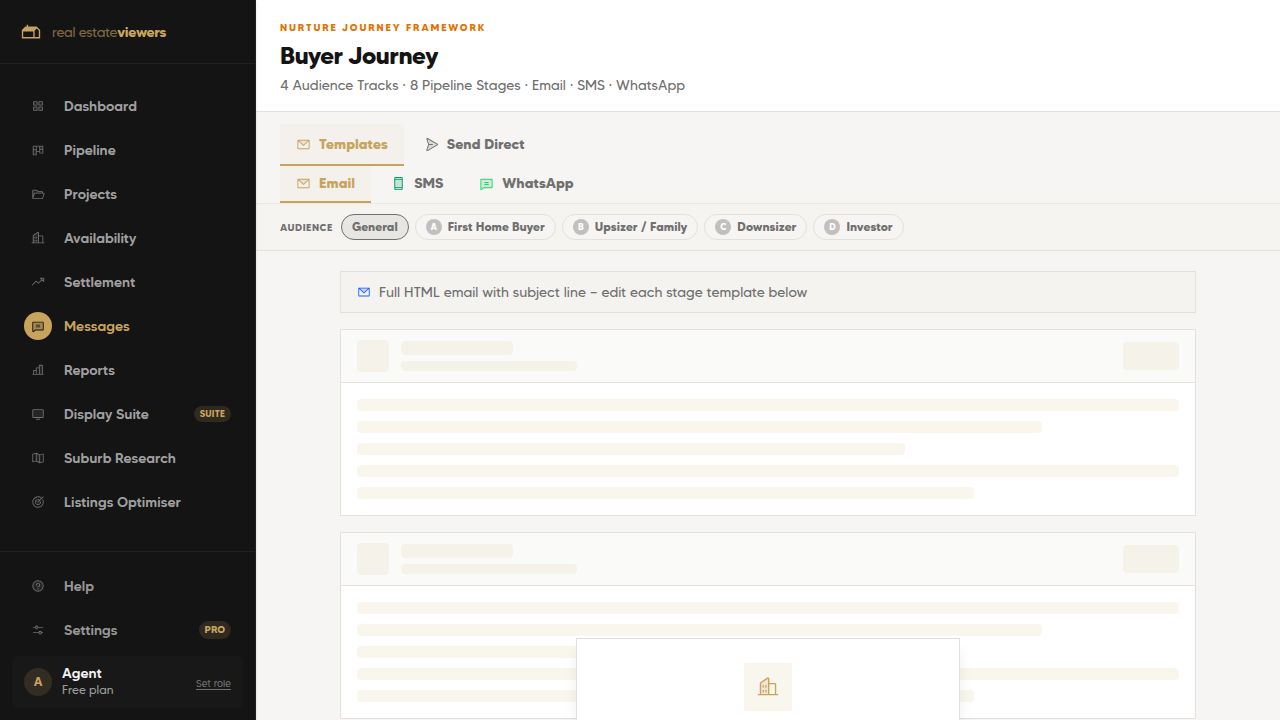
Each stage has three channel variants:
- •Email — includes a subject line; formatted for inbox delivery
- •SMS — plain text, 160-character limit per message (counter shows multi-SMS warnings)
- •WhatsApp — supports bold (**word**) and emoji; conversational tone
SMS and WhatsApp require Twilio credentials in Settings → Messaging. Email uses Resend and works out of the box.
Insert your Calendly booking URL into any template using {{calendly_link}}. When the message is sent, the tag is replaced with the URL saved in Settings → Messaging → Calendly URL.
Click "Insert Calendly link" in the editor to place the tag at your cursor. If no URL is saved, the tag is removed at send time.
Standard SMS messages are 160 characters per segment. The editor shows a live counter. Exceeding 160 characters splits the message into multiple segments — a warning shows how many will be sent.
Carriers typically charge per segment. Emoji characters count as 2 characters each in standard SMS encoding.
Suburb Research
Suburb Research pulls from the ABS Census 2021 G02 dataset for income, housing, and demographic figures, and the ABS GeoAPI for SA2 suburb boundary lookups. Geocoding uses Nominatim (OpenStreetMap).
All data is fetched live with a 1-hour server-side cache. No suburb data is stored in the database.
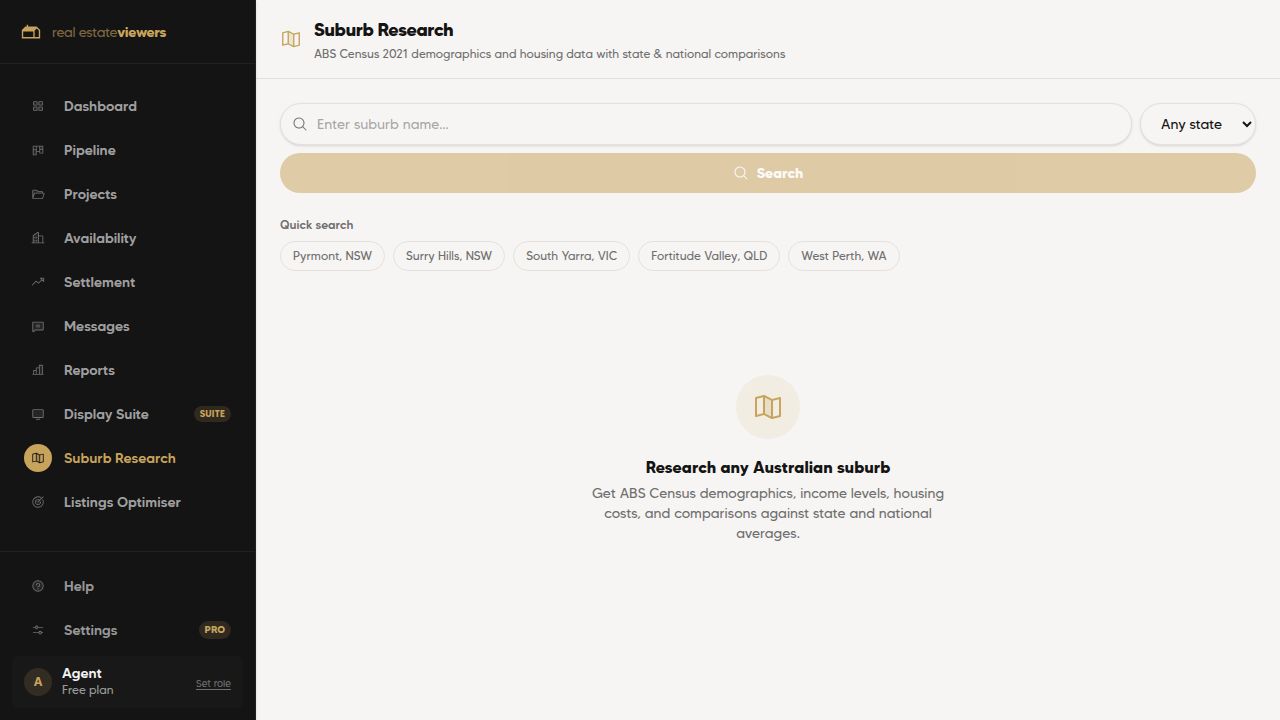
Three metric groups:
- •Demographics — median age, average household size, persons per bedroom
- •Income — median weekly household, personal, and family income (with annual equivalents)
- •Housing — median weekly rent, median monthly mortgage, and rent-to-income ratio (above 30% = housing stress)
Figures reflect the SA2 statistical area containing the suburb.
After census data loads, the Agent Insights panel generates an AI-written buyer profile for the suburb — a plain-English summary of who typically lives there, their financial position, and what motivates their property decisions.
The insight is generated fresh on each search. Use the quick-search pills to jump to common inner-city suburbs.
Settings & Team
Go to Settings → Branding and click "Upgrade to Pro". You'll be taken to a Stripe-hosted checkout to enter your card details. The Pro plan is A$300/month AUD, cancellable at any time.
Once payment is confirmed, Pro features (branding, team management, CRM integrations, up to 250 buyers) activate immediately.
On Pro, go to Settings → Branding to upload your agency logo (PNG or SVG, square crop) and set your agency name. Pick a brand colour to update the sidebar accent and primary buttons throughout the app.
Changes take effect immediately and are visible to all team members.
Three roles:
- •Admin — full access: settings, team management, CRM connections, all pages
- •Sales — view and update pipeline, buyers, stock, settlement, messages; no settings
- •Marketing — read-only pipeline + full suburb research access
On Trial, set your role manually in Settings → My Role. On Pro, roles are assigned by an Admin in Settings → Team.
Go to Settings → Messaging and enter your Twilio Account SID, Auth Token, and the phone number to send from. Find these in the Twilio console (console.twilio.com).
For WhatsApp, your Twilio number must be enrolled in the WhatsApp Business API. Save your Calendly URL in the same tab to enable the merge tag in templates.
Still need help?
Get in touch with our support team or explore the full docs.